
- MAKE A PLAN – STICK TO THE PLAN
Before you begin any cook, it’s crucial to establish a plan. Decide when you want your food to be ready, and work backwards from there. With a lengthy cook like brisket, it’s crucial. Don’t forget to leave time for a resting period – with a long cook and a large piece of meat, I recommend a 2-3 hour window for the rest. This will give the meat time to relax and settle into maximum tenderness – and ir provides you with a cushion for time just in case the cook time goes longer than planned.
- BE PREPARED – Tools of the Trade
Nobody wants to be rushing to the supermarket at 7AM to purchase tinfoil (that they forgot to get yesterday) so they can wrap their brisket. Even better, who loves to run out of fuel mid cook? Get your things ahead of time to be ready. For reference, here are some suggestions of tools to have on hand:
- Table Pans, Cutting Board and Sharp Knife
- Rubs and Injections
- Hot gloves, and nitrile gloves
- Foil / Butcher Paper
- Thermometer (leave-in and instant-read)
- Lots of Fuel for your cooker
- Select your BRISKET with care
Buying an expensive brisket isn’t the road to success at a BBQ comp, nor will it guarantee cooking your backyard’s best. Understanding the piece of meat, and what to look for when selecting your brisket will yield the best results, regardless of the price-point. Look for the following:
- The flat is the most vulnerable portion of the cook – make sure it’s as marbled as possible, and as thick as possible. I typically try to stay above 15lbs when cooking a packer brisket – at this weight the flat is normally thick enough.
- Find a piece of meat that is pliable. If the beef is tense and tough, odds are it was a high-stress animal and your end product will be tense and tough. If your brisket has some bend to it, it resonates with a more relaxed and happy animal – yielding a happy and relaxed end result. Make sure you grab a hold of your brisket and feel it out.
- For comp, take this same direction when selecting a higher-end cut of beef, and you’re a step ahead before it goes in the cooker.
- Understand the point vs. the flat
There are two separate muscles in the brisket. One is super marbled and full of the kind of fat that will render out during the cook – it’s called the point. The other, called the flat, is much leaner. If you prefer eating lean meat, select a brisket with a larger flat. If you want some delicious meat candy, find yourself a bug hunk of brisket point and make some burnt ends (we can discuss at a later date).
- Use your trimmings wisely
I trim a little bit more aggressively than most, mainly because I keep my trimmings for homemade ground beef. Amazing for burgers, sausage, meat-sauce, nachos, chili, Sheppard’s Pie, etc… Get yourself a meat grinder, trim aggressively (when you find good deals) and make your own ground beef. Also, it’s easier to trim your brisket when she’s as cold as possible without being frozen – throw it in the freezer for an hour before you start to trim – it will make your life much easier.
- Inject your BRISKET
I use half Kosmo’s Q Brisket Injection and half Butcher BBQ Original Brisket Recipe. Inject roughly every square inch, as though you’re hitting every intersection of a checkerboard. Keep your hand above insert to prevent splatter. Definitely wear an apron for this part. While I’m partial to these injection options, using a basic beef broth is a good start. Either way, it’s a great way to help the moisture content, and you’ll have some delicious ‘au jus’ to play with at the end of the day.
- BRISKET on SALE!
- I’m all about supporting the local butcher, but when you’re learning this difficult cut of meat – I recommend finding a sale. You can’t even find ground beef for $2.99 per pound – so when you see brisket on sale, it’s time to stock up!
- Explore your options.
Try using a water pan. If you do, put it as close to the heat source as possible. This helps get a nice bright smoke ring, and will increase humidity in the cooker.
Try wrapping your brisket with foil – if you do, wrap it as air-tight as possible. Try wrapping with butcher paper – similar to foil; it’s more breathable than foil so expect a little more crunch on your bark. Once that brisket starts to sweat (around 160 degrees) wrap that baby up air-tight and push it through the stall. I use foil, but butcher paper is great too – if you’re using butcher paper, make sure it’s non-waxed.
You don’t have to inject because I said so – experiment with and without, and decide what you prefer. I will say though, injecting with lesser quality briskets helps. And, if you do inject, catch those drippings and keep that Au Jus and pour it on everything. Yes… everything.
- USE THE FAT TO PROTECT THE FLAT
Fat Side Up vs. Fat Side Down? The answer is, use the fat to protect the flat from the heat source. The flat is the more vulnerable part of the brisket during the cook, so use the fat to shield the flat from the heat.
- Tenderness Trumps Temperature
While my recommended cooking temp is low and slow, you might want to go hot and fast. At the end of the day, both can get you to the finish line. Get yourself to an internal temp of 195 degrees, and consider this the final lap. Once here, you’re now probing the meat for tenderness. Learn the texture that is right for you, and you’ll pull the brisket when it’s ready based on feel. This could be 198 degrees, and it could be 208 degrees. No matter the recommendations for temperature, feeling and understanding the texture of each brisket will ensure a tender brisket every time.
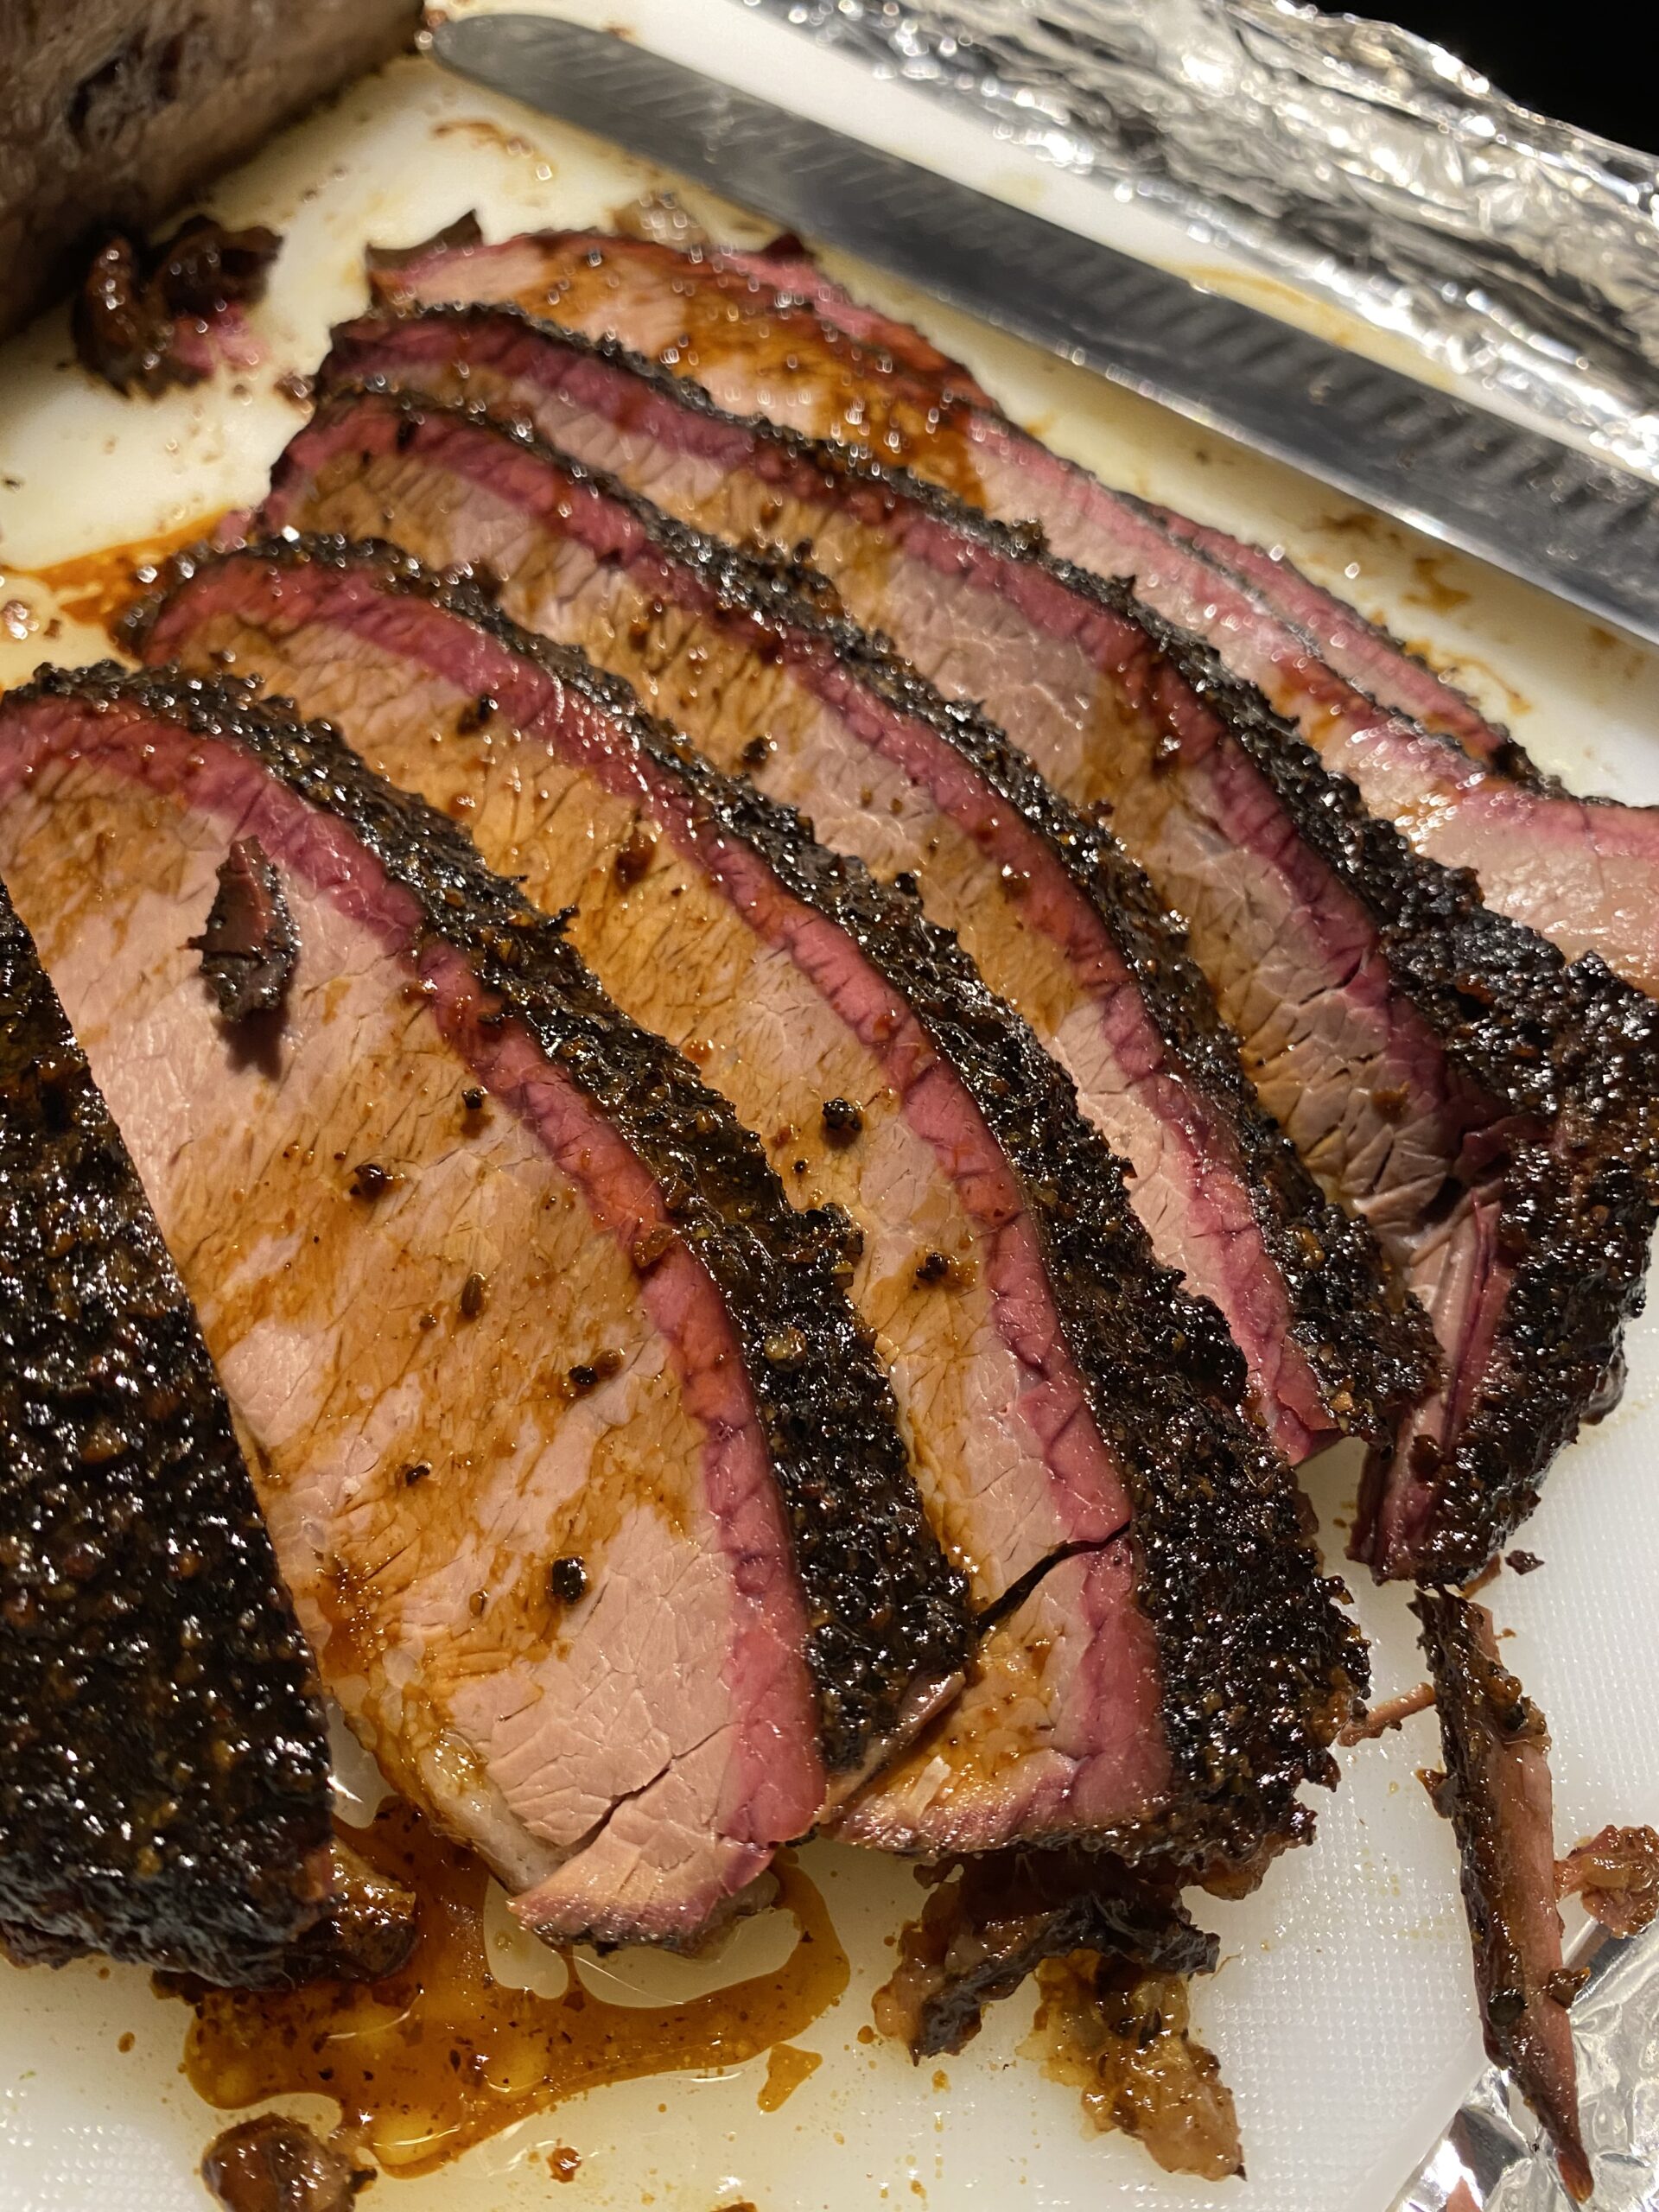
- AGAINST THE GRAIN
Always slice against the grain for a better slice of brisket. Long thin slices of brisket allows for smaller sections of fibers in each bite, and an easier chew. Remember that the grain of the meat changes direction from the point to the flat – so you need to adjust your knife angle to go against the grain.